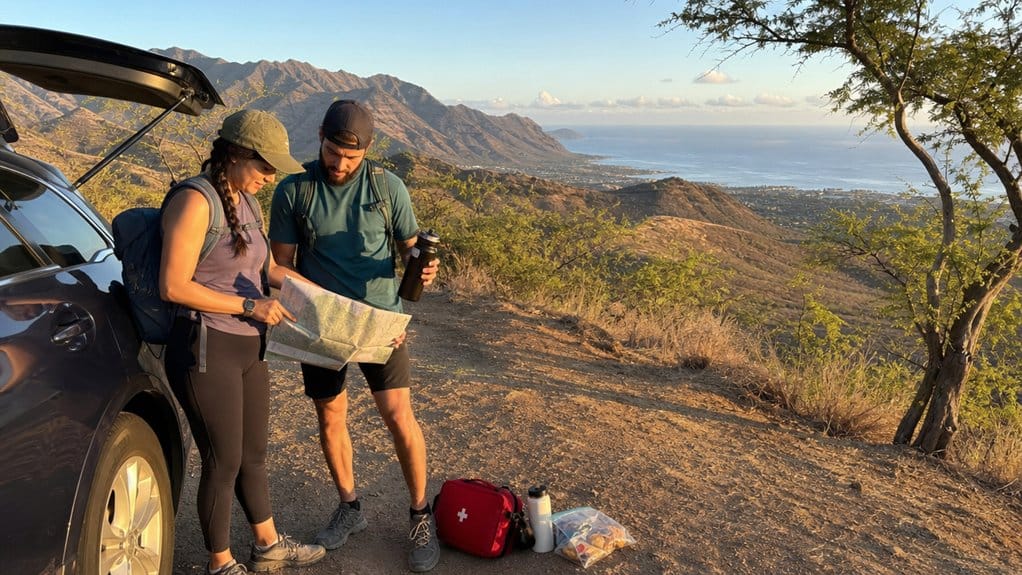
You’ll have a better day in the Waianae Mountains if you plan for sharp sun, loose rock, and trails that can turn rough fast. Pick a route that fits your legs and your nerve, start at a legal trailhead, and check the forecast before you lace up. Bring more water than you think you’ll need, plus offline maps and solid shoes. The ridges can feel wild and quiet, and one small choice can change the whole day.
Key Takeaways
- Choose a route that matches your fitness, footing comfort, and heat tolerance; for an easier option, hike Kaʻena Point from the west side.
- Start early to avoid intense sun, secure legal parking, and reduce crowding at small trailheads and roadside access areas.
- Use only legal trailheads and official Nā Ala Hele guidance, and never cross fences, barricades, or private property.
- Check Waianae weather, flash flood risk, and High Surf Advisories before hiking, especially near creeks, gullies, or coastal sections.
- Carry 2 to 3 liters of water, sun protection, snacks, navigation tools, a headlamp, and basic emergency supplies.

Oahu: Kualoa Ranch UTV Raptor Tour
Traveling with family and friends? You can enjoy the fantastic Multi-passenger UTV Raptor experience with your entire family or as a group with the ex...
Choose a Waianae Trail for Your Ability
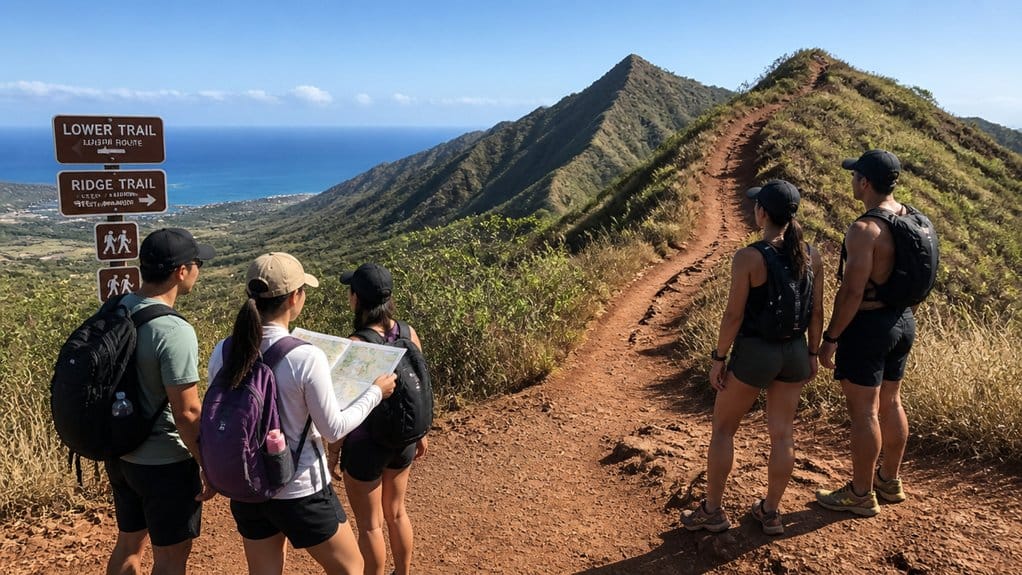
Before you pick a Waianae trail, match the route to your fitness, comfort with rough footing, and heat tolerance. These mountains can serve up loose gravel, uneven steps, and long sunny stretches that feel like a slow bake.
If you want an easier day, try Kaʻena Point from the west side. It’s mostly flat and kid-friendly if you skip midday heat, but the 2.1 miles only gets you to the predator-proof fence. Want more challenge? Add the West-to-Pillbox stretch. That extra 0.4 miles climbs about 520 feet, so your calves will notice.
Hotels to compare for this guide
Compare a few stay options before you choose your base.

Park Shore Waikiki
A beach-adjacent hotel near Kapiolani Park and Diamond Head that fits travelers wanting east Waikiki convenience.
Check rates
Shoreline Hotel Waikiki
A colorful boutique-style hotel in central Waikiki for travelers who want shopping, dining, and beach access nearby.
Check rates
The Ritz-Carlton O‘ahu, Turtle Bay
A luxury North Shore resort with beaches, golf, and a destination-resort feel far from Waikiki.
Check rates
Diamond Head Beach Hotel & Residences
A Gold Coast condo-style option for travelers wanting a quieter oceanfront setting near Kaimana Beach.
Check rates
Stay Hotel Waikiki
A compact value hotel close to Waikiki Beach for travelers prioritizing location over resort amenities.
Check rates
Turtle Bay Condo Hale Kai
A Turtle Bay condo-style listing useful for matching North Shore vacation-rental titles near the resort area.
Check ratesUse common sense. Some Waianae side trails have spotty signs, so choose routes you can follow and bring navigation help. Also plan for heat and water. On exposed west side routes, 2 to 3 liters is smart.
Start at Legal Trailheads and Respect Closures
Even if a route looks tempting on Instagram, start only from legal trailheads and access roads. On Oʻahu, famous hikes may cross private land, sit behind closures, or carry “hike at your own risk” warnings. Stick with legal trailheads, read posted signs, and stop at end-of-trail markers. Use official trails listed by Nā Ala Hele through the Hawaiʻi trails map or Outerspatial app rather than following unofficial routes. At places like Kaʻena Point State Park, check daily hours and gate status before you go, since access can change with closures or road conditions.
- Check whether the route is closed, illegal, or on private property.
- Don’t cross fences or slip around barricades, even if others do.
- Remember Haʻiku Stairs is illegal from the bottom, with fines up to $1,000.
- Secure permits early if DLNR, military, or forest reserve access applies.
- Arrive early when access relies on neighborhood streets and spaces disappear fast.
If you respect closures, you protect access, avoid tickets, and start your hike with cleaner conscience and better views ahead.
Plan Parking at Waianae Trailheads
You’ll want to arrive early because many Waianae trailheads rely on street or neighborhood parking, and the good spots disappear fast. Park legally, keep driveways and narrow roads clear, and expect a short walk from overflow areas when lots don’t exist or fill up. Respect local parking etiquette by avoiding blocking mailboxes, sidewalks, or residents’ access when using neighborhood streets. If you’re heading to Kaʻena Point West, follow Farrington Highway to the very end past Yokohama Bay, and don’t leave anything visible in your car. Like Waimea Bay parking, popular North Shore access points often fill early, so arriving in the morning gives you the best chance of finding a legal space before overflow areas become necessary. These same best spots often disappear quickly at busy beach access areas, so planning for overflow parking is a smart backup.
Early Arrival Strategy
Often, the safest move in the Waiʻanae Mountains starts in the dark, when the air still feels cool and the trailheads are quiet except for roosters and the first cars rolling in. Give yourself extra time, because many access points have tiny lots or none at all. At many Oʻahu trail access areas, parking fills up first thing in the morning, so arriving early can make the difference between a smooth start and circling for a space.
- Aim for sunrise or earlier.
- Confirm whether your trailhead actually has parking.
- Expect weekend spaces to vanish fast.
- Keep bags and valuables out of sight.
- Plan to finish and return before dark.
An early start helps you avoid scrambling for a spot far from the trail. It also lowers your odds of hiking through harsh midday heat. If you’re heading toward West Kaʻena Point, remember parking may sit away from the access path. Build that walk into your schedule, and your day starts calmer. Similar to Pipeline Beach location planning, knowing exactly where access begins can save time and reduce stress before you set out. This kind of timing works especially well for a day trip mindset, where a simple three-step plan keeps the whole outing smoother.

Waikiki 2-Hour Sunset Sailing Catamaran – Swim & Sail Adventure
There’s no better place to take a dip than the crystal-clear waters of Waikiki—and no better way to experience a...

Waikiki Glass Bottom Boat Cruise
Experience the beauty of Oʻahu South Shore as we sail toward Lēʻahi (Diamond Head) aboard the spacious Haleiwa Qu...

Honolulu: Pacific Star Sunset Dinner Cruise and Show
Indulge in the original Pacific Rim cuisine, where each dish serves as a gateway to the rich flavors of the region...
Street Parking Etiquette
Because many Waiʻanae trailheads don’t have real lots, your parking plan may start on a quiet neighborhood street instead of at a signed entrance. Good street parking etiquette matters here. You should arrive by sunrise, or earlier, because spaces disappear fast and late arrivals usually end up squeezing into risky spots. If you’re not driving, compare TheBus options or tour transportation ahead of time, since Oʻahu trail access can vary a lot by route and schedule. Honolulu’s public transit can also help you plan a backup route if trailhead parking fills up.
Park only where it’s clearly allowed. At some trailheads, there’s no parking just before the official start, and legal spaces begin only near the end of the approach road. Don’t block driveways, gates, or entrances, and never cut across private property to save a few steps. Residents can call police, and trespassing fines can reach about $1,000. Before you lace up, lock valuables out of sight or take them with you. Some areas see petty theft and busted windows, sadly.
If you’re planning other Oʻahu activities too, it can help to compare logistics like beginner scuba packages and trail access so your day doesn’t get overbooked.
Check Waianae Weather and Flood Risk
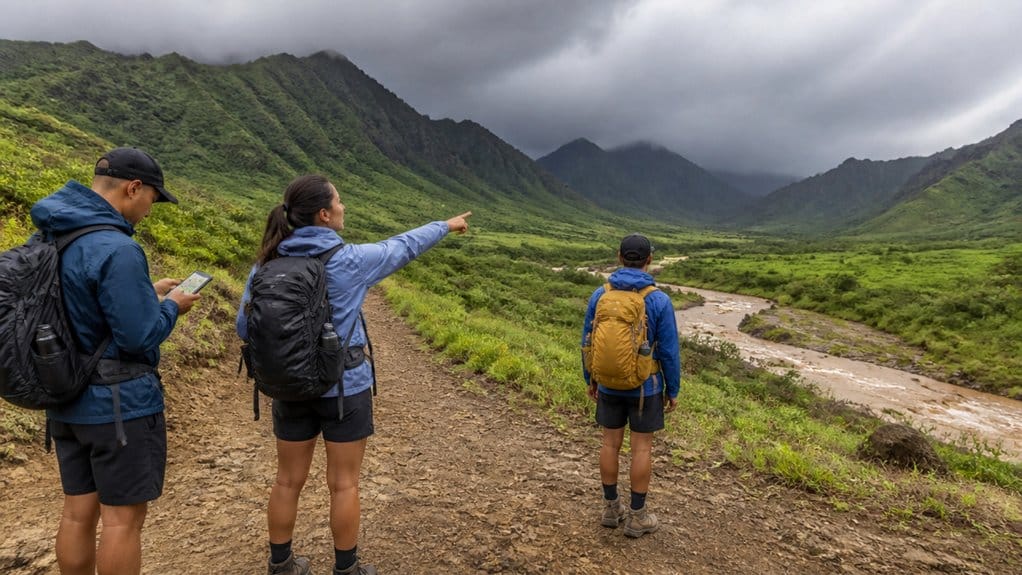
Before you lace up, check the local Waianae forecast every hiking morning and treat it like part of your gear list. Sudden rain can turn quiet creeks and gullies into flash flood channels fast, and your cell signal may fade once you leave town. Use the National Weather Service for warnings and shower timing, especially from November through April. The National Weather Service in Honolulu also posts High Surf Advisories that can signal rough coastal conditions if your hike includes shoreline access points. Oahu’s winter rainy season often brings wetter conditions from November through April, so trail hazards can build quickly. Just as timing tips can make busy island destinations run more smoothly, checking conditions early can help you avoid weather-related delays and hazards on the trail.
- Watch for heavy shower alerts.
- Avoid routes near creek beds.
- Be cautious by waterfalls and streams.
- Expect muddy ridge trails after rain.
- Build in buffer time for slow going.
Even when the sky looks friendly, interior and ridge routes can change quickly. Runoff surges downhill without much warning. If rain is possible, pick a route farther from drainages and moving water. Your boots will thank you too.
Start Early to Beat Heat and Crowds
An early start gives you another layer of protection on Waianae trails. You’ll step onto drier ground before the hottest hours clamp down, which matters on exposed routes like West Kaʻena Point, where shade is scarce and the sun can feel relentless fast. The morning air is usually cooler, the light is cleaner, and the return hike feels less punishing. On Oʻahu, late spring and early fall often bring the most reliable hiking weather during the drier season.
Starting early also solves a few practical problems. You’ll have a better shot at street or neighborhood parking before trailheads clog up. You’ll also move ahead of the crowds that gather later in the morning on popular Oʻahu hikes. On exposed Oʻahu routes, bring water and sun protection since very little shade can make heat build quickly after sunrise. Much like reservation advice for busy hikes such as Diamond Head, planning ahead for timing and access can make the day smoother from the start. Miss that window? A late-evening or sunset outing can still work well. Cooler temperatures and softer light often make open, rocky sections feel safer, quieter, and much more enjoyable overall.
Still comparing Waianae Mountains Hiking Safety?
Ask for tour ideas, hotel suggestions, or a simple trip plan that combines both.
Trip Helper
Pack Water, Sun Protection, and Essentials
Even on a short day hike, your pack needs to work harder than you think. In the Waianae Mountains, exposed ridges and low-shade stretches can dry you out fast, so carry more water than feels necessary. For West Kaʻena Point, 2 to 3 liters is a smart baseline.
- Water: 2 to 3 liters minimum
- Sun protection: sunscreen, hat, sunglasses, hooded sun shirt
- Snacks that travel well and boost energy
- Headlamp, phone, backup battery, first-aid kit
- Whistle and waterproof rain layer
You’ll also want food that’s easy to eat in the wind, plus a headlamp in case the trail takes longer than planned. Pack a whistle and light rain layers too. Weather flips quickly here, and your bag should be ready before the sky gets ideas. Just like with snorkel gear essentials, planning ahead about what to bring versus what you can rent or replace helps prevent last-minute problems.
Wear Shoes for Loose Rock and Mud
On Waianae trails, your shoes do a lot of the safety work. Wear sturdy athletic shoes or light hikers with deep tread, because volcanic gravel and uneven rock can shift under you fast. Near Kaʻena Point, the start includes loose gravel and boulders, and smooth-soled sneakers can skate like your cell phone on a car seat.
If you hike after rain, or anytime from November through April, expect mud on ridge and interior routes. Some sections stay damp even when the sky looks clear. Shoes with aggressive grip help you stay upright when the path narrows or tilts. Closed-toe shoes also protect you from scrapes on exposed, rocky stretches like Pāʻū o Hiʻiaka. Pick footwear that can handle wet mud all day, especially when heat and fatigue make sloppy footing riskier. If your route includes shoreline stops near Kaʻena Point, shoes with traction also help around tide pool safety hazards where wet rock can be slick. Around coastal access points, they also help you move more carefully if you encounter rip currents or wet, wave-washed rock near calmer swimming areas.
Download Maps for Poorly Marked Trails
Because Waianae trails don’t always spell things out, download an offline map before you leave and save screenshots of key junctions on your phone. Some paths hide turns in dry grass, red dirt, or ironwood shade, so a quick glance can keep you moving the right way. Oahu also offers hidden waterfall hikes and tropical hiking tour options, so double-check that your map matches your specific route before heading out. For longer coastal routes like the Kaena Point hike, knowing the route from parking to shoreline can help you verify that your map follows the actual trail progression.
- Download an offline map and bring GPS backup
- Screenshot confusing junctions before you hike
- Note trail marker colors like pink, yellow, or blue
- Confirm permits or special access before arrival
- Start early so daylight gives you room to recover
If markers use colors, keep checking that you’re still following the right one. Don’t count on signs to explain permits in the field. Handle that before you go. Start early, too. If route-finding gets messy, extra daylight helps you self-correct without turning your hike into a guessing game later. On busier full-day outings, a Waimea Falls guide can also help you compare your planned stops and timing before leaving.

Pearl Harbor USS Arizona Memorial & Battleship Missouri
Visit USS Arizona and Battleship Missouri, as they represent both the beginning and the end of World War II. The acc...

Pearl Harbor USS Arizona Memorial Tour from Waikiki
Turn back time as we explore WWII history at Pearl Harbor and relive the infamous Sunday morning of December 7, 1941...

Honolulu: Three Star Deluxe Sunset Dinner Cruise and Show
As the sun sets over the Pacific, enjoy a luxurious Honolulu dinner cruise along the scenic coastline near Diamond H...
Avoid Cliffs, Shorebreak, and Tide Pools
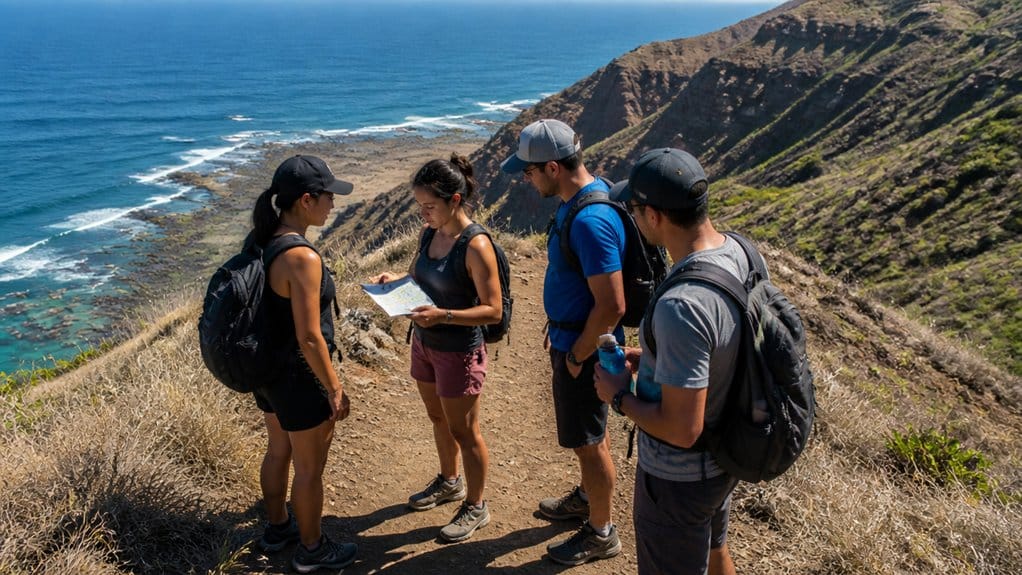
While the Waianae coast can look wide open and inviting, it demands real caution once the trail nears cliffs, tide pools, and surf. Stay back from edges, especially on narrow, exposed stretches like Pāʻū o Hiʻiaka. One bad step can turn a scenic pause into a rescue. Watch for erosion too. Some ground has already crumbled into the ocean.
| Hazard | Smart move |
|---|---|
| Cliff edges | Stay on the trail |
| Tide pools and shorebreak | Don’t enter or linger nearby |
On the West Kaʻena Point side, don’t swim in tide pools. Open-ocean swell hits harder here than in protected North Shore spots. Conditions can shift quickly with shorebreak hazards even when the water looks calm from above. The same caution applies on paved scenic routes like the Makapuʻu Lighthouse Trail, where ocean exposure can still create risky conditions near the coast. Like shark encounters, ocean conditions can seem manageable until they change fast. If waves surge onto rocks, back away fast. Keep your footing simple. Dry rock is your friend. And if wildlife appears, don’t wander off-trail to get closer. Curiosity’s great. Cliff shortcuts aren’t.
Give Monk Seals Space and Leave No Trace
When you reach Kaʻena Point, give Hawaiian monk seals at least 50 feet of space and keep your camera zoom doing the work. You shouldn’t approach, touch, or harass them, because they haul out here to rest, and spooking them back into the surf can push them toward sharks. Stay on marked trails, leave the fence latched, and leave the shoreline exactly as you found it, because this place does best when you pass through lightly. Hawaiian monk seals are protected under the ESA and MMPA, and disturbing them can bring penalties under federal protections. If you spot a mother seal with a pup, keep at least 150 feet away and stay behind any posted signs or barriers. On Oahu’s North Shore, Laniakea Beach is also known for sea turtle viewing, which is another reminder to observe wildlife from a respectful distance.
Give Monk Seals Space
Even if a Hawaiian monk seal looks sleepy and unbothered on the sand, give it at least 50 feet of space and resist the urge to edge in for a closer photo.
- Keep 50 feet from any Hawaiian Monk Seal
- Never touch, approach, or pose beside one
- Stay on marked trails while scanning shorelines
- At Kaʻena Point, latch the fence behind you
- Remember, patrols and volunteers watch closely there
NOAA and Hawaiʻi DLNR recommend that buffer for good reason. When you crowd a resting seal, you can spook it back into the surf, where sharks pose a real danger. You’ll protect habitat by sticking to designated paths. At Kaʻena Point, rules matter, and people who ignore them have been identified online and prosecuted. Let the encounter stay wild. The island’s place names often carry Hawaiian roots that reflect the landscape and water. If you also spot a sea turtle near shore, keep at least 10 feet away to avoid harassment or harm under protected wildlife laws. Around Oʻahu’s protected coastal areas, lifeguards on duty and posted rules help reinforce safe wildlife viewing and habitat protection year round.
Follow Leave No Trace
Giving monk seals space is one part of the bigger promise you make out here: leave the coast and trails as wild as you found them. Practice Leave No Trace from trailhead to shoreline. Stay on designated paths, especially near the predator-proof fence at Kaʻena Point, where one shortcut can damage sensitive habitat. Kaʻena Point is also one of Oahu’s best turtle spots, so staying on marked routes helps protect the coastal habitat wildlife depends on.
Keep at least 50 feet from Hawaiian monk seals for viewing or photos, and never touch, feed, or harass them. If you spot one resting on the beach, let it snooze. Don’t shoo it toward the water for a better shot. That scramble back to sea can raise its risk from predators. Oahu is home to several turtle beaches, so giving wildlife space matters all along the shoreline, not just at one stop. Pack out every wrapper and bottle cap. Leave plants where they grow. If you pass through a predator-proof fence gate, close and latch it fully behind you. If your hike includes a shoreline stop, check ocean conditions first, since currents and changing water conditions can quickly turn a casual swim or snorkel into a safety risk.
Turn Back Before Conditions Get Dangerous
Before the Waianae ridges have a chance to surprise you, set a firm turnaround time and treat it like part of the trail plan. Check the weather each morning, especially from November through April, when flash floods can build fast near creeks, waterfalls, and interior trails. Start early so you’re not still exposed when shade disappears.
Set a firm turnaround time, check the weather, and start early before Waianae ridges trade shade for exposure.
- Watch for rising water near crossings.
- Notice muddy trail sections getting slick.
- Turn around if strong winds pick up.
- Obey posted warnings and trail-end signs.
- Use a flashlight if darkness finds you.
If you hear loose rock, feel baking sun, or spot unstable footing, don’t push on. Many accidents happen past the safest boundary. If conditions turn dangerous and you don’t know the area well, stay put and wait.
Frequently Asked Questions
Are Permits Required for Hiking in the Waianae Mountains?
Yes, you’ll often need permits for hiking in the Waianae Mountains, depending on the trail. Check the managing agency first, confirm legality and closures, and handle Trail Timing early since reservations, fees, and weak service can complicate access.
Can I Bring My Dog on Waianae Hiking Trails?
Yes, you may bring your dog on some Waianae trails, but you’ll need to confirm the guidelines first. Discuss dog safety: leash closely, carry extra water, avoid wildlife like monk seals, and ensure your dog handles rough terrain.
Are There Restrooms Available at Waianae Trailheads?
Usually, you won’t find restrooms at many Waiʻanae trailheads; Trailhead Facilities vary. Like a phone dying at 5%, don’t gamble, use nearby stores first, check the trail’s official page, and pack out tissue if needed.
Is Cell Service Reliable in the Waianae Mountains?
No, you can’t count on reliable cell service in the Waianae Mountains. For Trail Safety, charge your phone, enable location services, download offline maps, and message your Trail Angels early with your route and return time.
What Is the Best Season for Hiking in Waianae?
You’ll usually get the best hiking conditions in Waianae from late spring through early fall, avoiding wetter winter months. Still, you should start early, watch for Morning fog, and check forecasts because trails can change quickly.
Conclusion
Plan well, and the Waianae Mountains reward you slowly. You’ll feel gravel crunch under your shoes, catch salt on the breeze, and watch ridges glow gold before the day turns hot. Stay on legal trails. Start early. Carry water, maps, and a headlamp, because the mountain can change its mind fast. If clouds build or surf pounds below, turn back. That last bend might reveal the island’s best view, if you’ve left enough daylight to enjoy it.
Oahu: Kualoa Ranch UTV Raptor Tour
Traveling with family and friends? You can enjoy the fantastic Multi-passenger UTV Raptor experience with your entire family or as a group with the ex...

Park Shore Waikiki
A beach-adjacent hotel near Kapiolani Park and Diamond Head that fits travelers wanting east Waikiki convenience.
Check ratesOahu: Kualoa Ranch UTV Raptor Tour
Traveling with family and friends? You can enjoy the fantastic Multi-passenger UTV Raptor experience with your entire family or as a group with the ex...